Some cities in America will run dangerously low on water as early as 2025. Climate change creates droughts across the globe, impacting already stressed water resources.
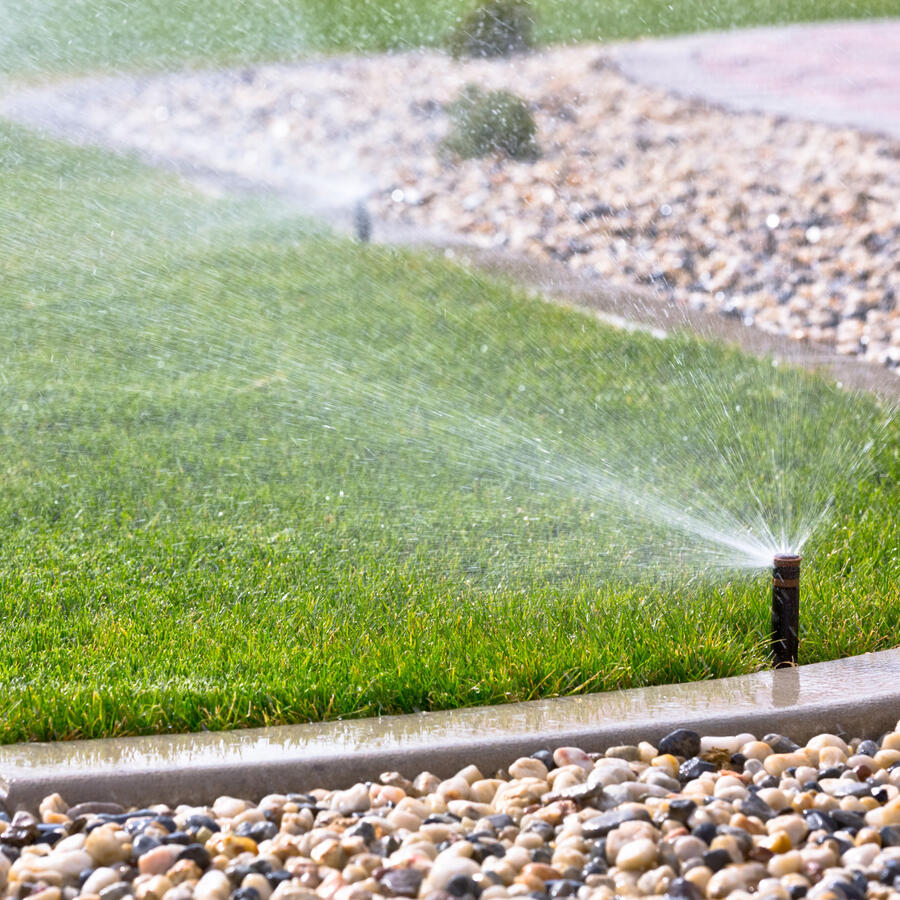
How can you help? Conserve water by using an irrigation system in your garden and flower beds. Drip systems and other micro-irrigation techniques cut water use in half.
Setting up a drip system is easy. First, you need to sketch out a plan. Then gather your supplies.
Follow this guide and you'll have an eco-friendly garden in no time.
After you have your plan in place, it's time to go shopping. For this project you'll need:
Depending on the size of your project, you may need more supplies. Check with your irrigation system supplier to make sure you have everything you need.
Attach the Y connector to your outdoor faucet. Make sure to use the faucet closest to your garden. It'll save on tubing costs.
Next, connect the backflow preventer, filter, pressure regulator, and adapter. They must go on in this order to work correctly.
Stretch the 1/2 inch tubing from the faucet to the garden. Lay it out around your plants as sketched in your plan. Trim off any extra tubing with the shears.
Tip: If the tubing won't lay right, let it warm in the sun for a little bit.
Once the tubing is in place, stake it down. This will prevent it from moving and developing leaks.
Some drip systems come with pre-installed emitters. But if you're putting in a system for plants that aren't evenly spaced, install the emitters yourself.
Use the hole punch to make holes in the tubing where you need them. Insert the emitter into the hole.
Tip: Position the emitters as close to the plant's roots as possible. This will prevent water from evaporating before the plant is hydrated.
To reach potted plants, use a barbed connector to attach a piece of 1/4 inch tubing to the system. Add your emitter of choice to the end of the 1/4 inch tubing.
Before you water the garden with your new system, you need to clear any debris from the tubing.
Run water through the system for five minutes or so. Make sure you don't see any dirt flowing from the open end.
Close off the end of the main tubing with a hose-end cap.
Protect your new system by adding mulch on top after everything is in place. This prevents accidents while you're weeding. It also keeps birds from poking holes in the tubing.
A happy garden brings color and joy to your home. It also provides delicious food for your family.
Start your garden project off on the right foot by installing an irrigation system you can trust. Check out the Sprinkler System Store. We have everything you need to set up your drip irrigation system.

